Deck painted and fitted out
Due to the staining on the rear deck area I decided to paint this also. For anti-slip on other boats I’ve used sugar or caster sugar mixed in with the paint/polyurethane/varnish but this will be too rough on a boat such as the Moth. I found quite a good solution. Hempel Anti Slip Pearls which are quite cheap. It comes in two varieties. One is made from microscopic glass beads and the other is made from polyethylene beads. I chose the latter as they are not as coarse. You simply mix the pearls into the paint. The result is a nice matt looking finish. I mixed the pearls into the first coat of Toplac and then applied a second coat without the additive. We’ll soon know if this was a good idea.
For the foredeck I chose Norglass clear two-pack polyurethane. This is a high gloss finish and it’s possible to apply 2 coats per day using the wet on wet technique. However, I just went with 1 coat per day and applied 3 coats in all using a foam roller and tipping off with a synthetic brush. I rolled any excess clear coat onto the mast, so that is all nice and shiny now too.
With the painting done, I could replace the fittings. The Ronstan hatch cover O-rings were perished so I replaced those. The RF530 has been around since Adam was a boy and it’s great that you can still buy the o-rings and save the expense of buying new ones. This is a trap with a lot of other brands.
Also reinstalled were the wings. If you’ve been following this blog you will recall I had brazed up the corrosion holes and reinforced the particularly bad areas with tube sections which I brazed on. This was a big job but I think it turned out well. I replaced the old cotton webbing toe straps with new nylon webbing and attached bungees to keep them off the deck to make it easier to slide the feet under. Also, as the old wing covers had rotted, I had some new ones made by Redhead Sails on the NSW Central Coast. Lacing them on took me the best part of three hours. I must say they look very nice.
Well here he is:

Max channelling a funnel web spider about to pounce:

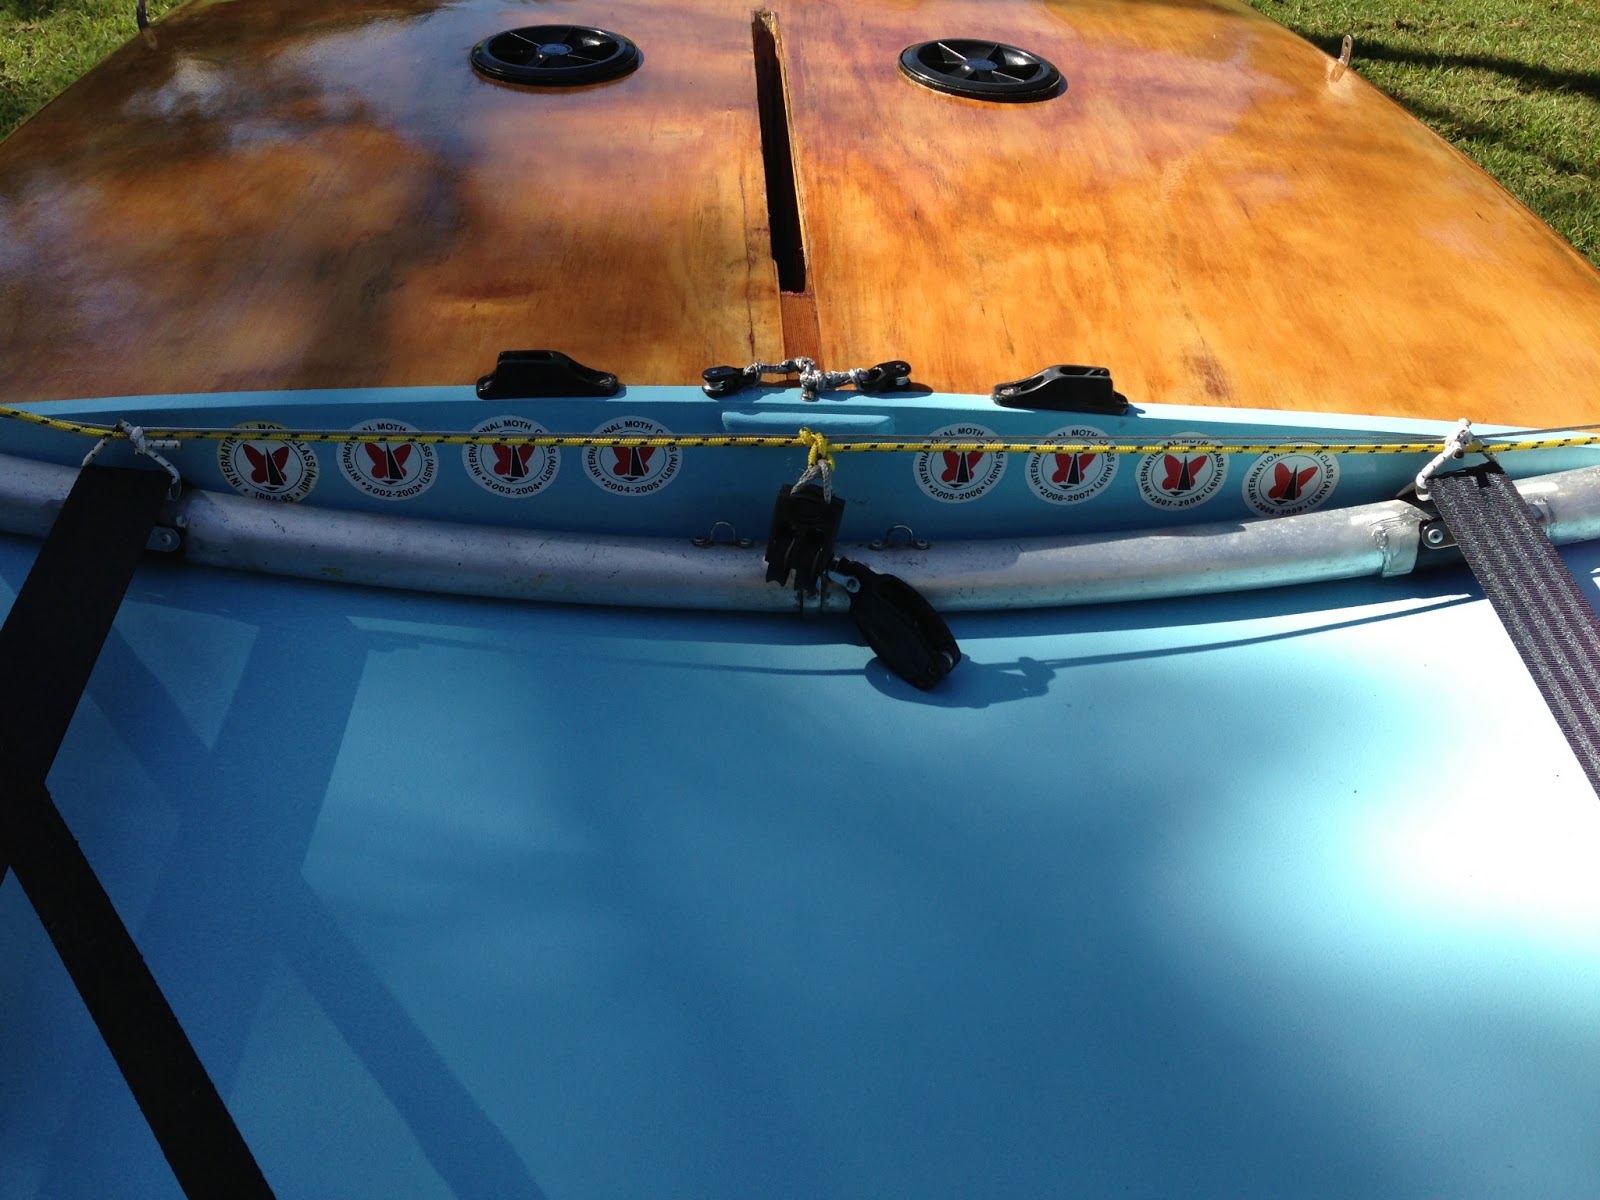
I was able to re-apply Max's registration stickers successfully. There is one missing as the glue came off the sticker and remained on the boat when I was removing them. Careful use of a heat gun for this job!

I also gave Max some new graphics. I designed this myself as I wanted something a bit retro looking. I am quite please how it has turned out.


I also applied a cover strip to the dagger board slot. There are a few benefits from doing this.
- it fairs the flow around the foil, reducing drag
- it provides grip for the foil
- it stops water spurting up through the case which robs performance
Attaching the strip to the hull is simple. Cut it to the length required. I cut mine so that it overlaps the ends of the slot by a couple of cm. Then mark out and cut the slit the same length as the case. Use a sharp hobby knife with a new blade as this stuff is tough! Mask off the area where the tape will go and apply contact adhesive to both surfaces. Leave for 15-20 minutes and then apply the strip. Be careful to align it properly as you only get one go at this. Rub it hard to ensure a good bond and it’s done.


posted by Bruce Taylor @ 8:24 PM
1 Comments
![]()

1 Comments:
This comment has been removed by a blog administrator.
Post a Comment
Subscribe to Post Comments [Atom]
<< Home